Constructing Reconstructing Misfortune (Part 3/3)
The making-of concludes! Part one is here.
With all the painting done, the final parts were readied for assembly. Then it was time to break out the needle nose pliers and superglue!

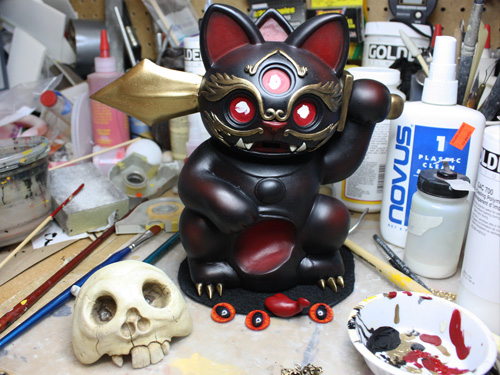
The eye were painted from behind to give them a more realistic cat-like dome eye effect. The blood effect on the sword was created by slowly dripping a thickened liquid acrylic paint onto the surface in precise areas to get the bulging droplets.

Bracelets and necklaces were clasped on, with a few detail pieces such as the ear decorations glued into place. The gem at the base of the sword is a re-purposed plastic coat button.

Here are some more details of the reverse side including the three circle necklace decoration meant to reflect the eye configuration and carry the three theme to the back.

A small felt pad was glued onto the underside of the figure to protect the figure and surfaces it might be resting on. Then it was carefully packed up into a big ole foam coffin for a journey to Hong Kong before eventually making it’s way back to LA for the show!
Why did it go all the way to Hong Kong first?…

…to serve as reference for a re-sculpted 4 -inch edition that will be produced in multiples and available for sale from Playge next year! They did an amazing job reproducing even the tiniest details in an even smaller format. I can’t wait to see the finished pieces, I’ll be sure to keep you all updated!
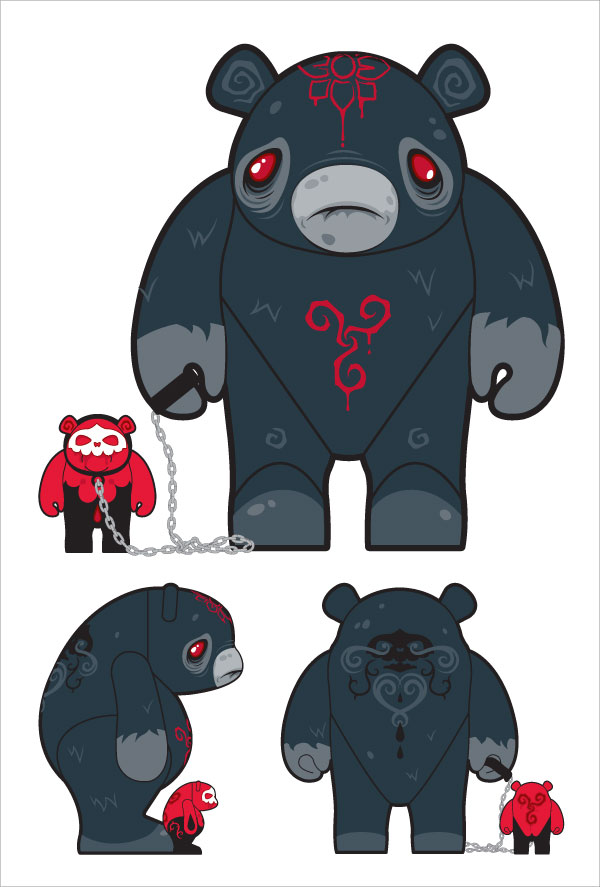
Additional photos of the final 9-inch custom cat can be found in the catalog.
Related Posts
-

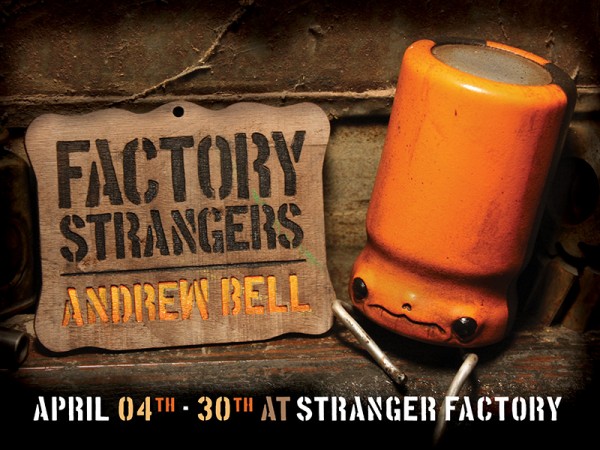
Factory Strangers – Preview
March 31, 2014 -
Factory Strangers @ Stranger Factory
March 1, 2014 -
Other Mother Brothers – This Friday!
August 8, 2012 -
Yoka? Noka!
March 1, 2012 -
Android Mini Collectible Summer special editions
June 29, 2011