Constructing Reconstructing Misfortune (Part 1/3)
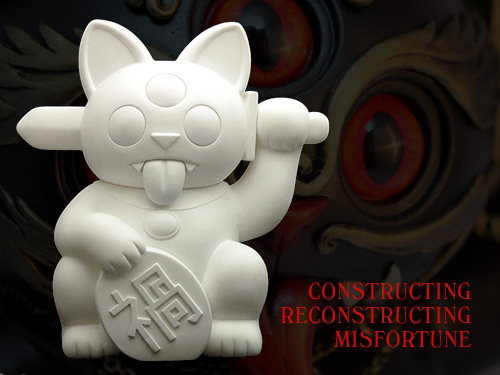
I often get requests to do some behind the scenes ‘making-of’ posts like I did for Milo & Ditch or the Android figures. They’re fun to do, and I managed to document the process of this particular project pretty well, so here we go again for my custom of Ferg’s Misfortune Cat for the recent show at Munky King.

One of the major inspirational design elements that Ferg brought to the original Misfortune Cat figure is the three eye configuration. This connected directly to my love and respect for traditional Tibetan and Indian Buddhist artwork in which the three eye design nearly ubiquitous.
After a few hours with my book collection and a trip to the excellent Rubin museum here in New York , I decided to draw my inspiration from the group of deities known as Enlightened Protectors (which includes Mahakala shown above).

Many of these images incorporate skulls as decorative elements, usually in some sort of headgear or necklace. I wanted the skull to hold a more prominent position, so I replaced what would have been the traditional lucky cat coin (or misfortune coin in this case!) with a larger accessory skull.
I started with half a styrofoam ball roughly sculpted into a skull shape to provide a base.

I wanted to carry the “three” theme throughout the piece, so I sculpted a third ear out of two-part resin directly onto the figure behind and between the original ears.

I continued that theme with the nose area of the skull. Here the foam has been covered in clay and had the details sculpted in. It has been baked solid and is ready for a little sanding/polishing.

Using the same clay as the skull, facial features are roughed in directly on the base figure. I used a small cut paper template to help keep the details on either side of the face somewhat even.

The sword needed to be extended and expanded, so I built a wire mesh framework around the remains of the original. Working a thin layer of resin into the framework provided a solid, connected foundation to sculpt the final blade.

The giant hole I cut out of his belly was filled in and sculpted to fit the skull accessory into the indent.

The skull sits snugly against the body, but it can also be easily removed to sit on its own. I had to do a lot of back and forth sculpting/fitting/fixing to get a really good fit. In the background left here you can see the original eyes that I removed, and three different tongue sculpts that I was torn between.

And here we are all primed up and ready for paint!
Related Posts
-
Yoka? Noka!
March 1, 2012 -
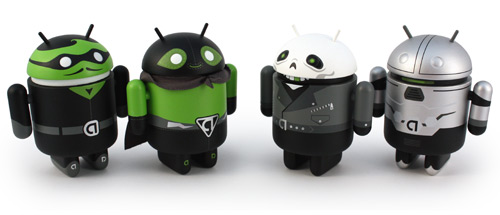
Android Mini Collectible Summer special editions
June 29, 2011 -
For Who You Are painting
April 14, 2011 -
Android Series 02 Preview (pt5)
March 9, 2011 -
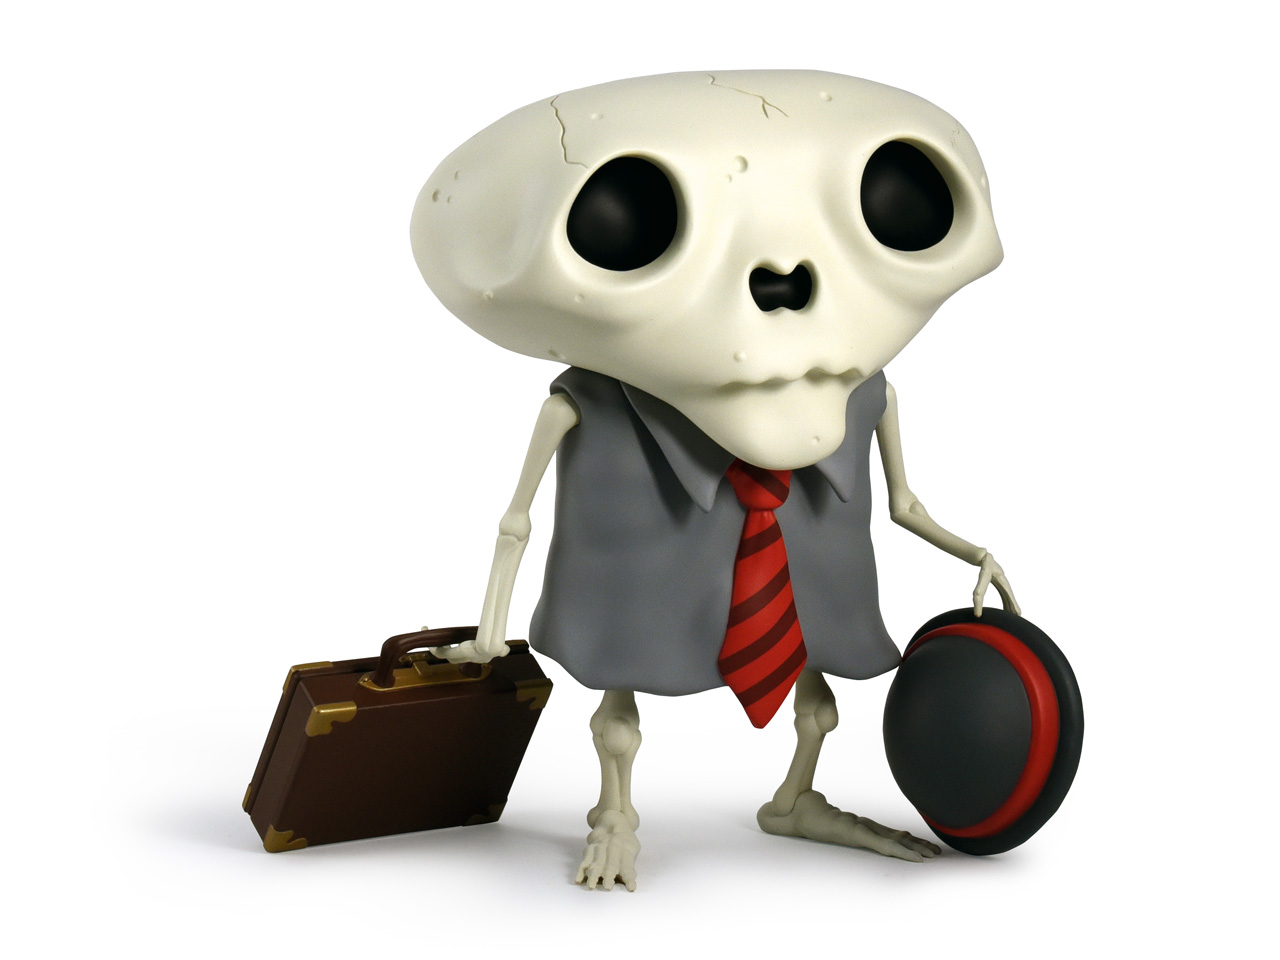
fine, you can come, just don’t eat anything…
March 1, 2011